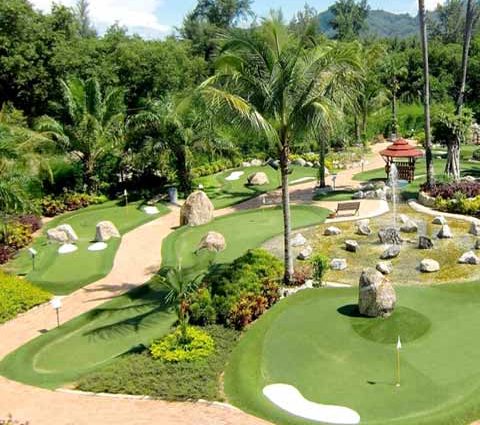
There are a number of great and fantastic mini golf courses out there. Pick any country you like and you will undoubtedly run into a well designed miniature golf course, ranging from 9 holes to 18 holes. The mini golf course designer likely spent a lot of time and dedication designing the path for each hole on the course.
What if you could also design your very own mini golf course, which you could have either indoors or outdoors, whether in your living room, your bedroom, or even your balcony (if you happen to have one)?
The truth is that it is very easy nowadays to create your very own mini golf course having either only one hole or a number of holes. There are many easy-to-purchase materials available online if you are interested in designing and creating your own mini golf course. These materials range from the actual green mini golf turf, to the golf putters, multi-colored golf balls made of plastic, and even the tiny hazards you can place alongside and throughout each of your mini golf holes. This blog post shares five ideas you can consider before building your DIY (Do-It-Yourself) Indoor or Outdoor mini golf course.
1. The first hole. The first hole in an indoor mini golf course requires at least a mini golf putting turf. These are fuzzy green on the top, and black vinyl on the bottom. The best is to go with a turf which is at least two meters long. Of course, you may need to customize your mini golf course turf based on the dimensions of your living space. Still, best to go with a two-meter long mini golf turf. The edges of the turf need not be round, though such a turf provides plenty of flexibility and lots of fun. The point here is that the aim is to warm up one’s mini golf game during the first hole.
2. The second mini golf hole should ideally contain a few obstacles. While the first hole in one’s mini golf course should be at least two meters long between where one begins to putt and where the hole resides, the second mini golf hole could be much shorter or could also be much longer than two meters. The point is to begin introducing some obstacles between the starting point and the second hole. Obstacles could include small miniature warning cones, miniature wooden houses you can buy at your local crafts store, as well as other colorful items that could be used as decorations as well as obstacles for your indoor mini golf course.
3. It is great to begin introducing geometry into one’s mini golf course. If you happen to be able to add a border along the path of your mini golf turf, that will provide countless hours of fun, particularly if you happen to combine obstacles along with borders which let you bounce your golf ball from one direction to another.
4. Speed bumps can also provide an extra dimension to indoor mini golf courses. For example, it is very easy to add small “mounds” underneath the mini golf putting green to provide an added element of variety and challenge to your run-of-the-mill mini golf course.
Remember, part of designing and building your our mini golf course indoors or outdoors is to include elements and designs which happen to reflect your very own and unique personality. Themed mini golf courses may be quite fun, and indeed there are many ways to apply themes when designing a mini golf course. The key idea when designing your own miniature golf course is to focus on having fun since that is our ultimate goal.

